 Skip to content

From Mix to Masterpiece: How to Get a Flawless Resin Finish
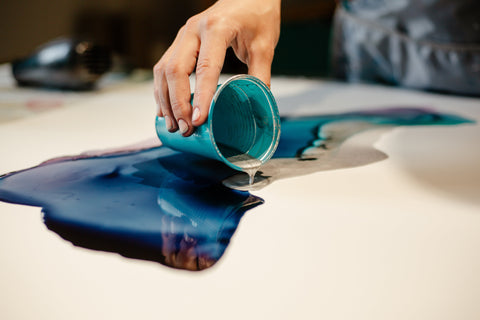
Every great resin project starts the same way — with a cup, a stir stick, and an idea. Whether you’re making coasters, jewellery, river tables, or abstract art, there’s something magical about watching resin transform from a simple liquid into a glass-like masterpiece.
👉 Watch the process come to life in this short clip:
Step 1 – Choose the Right Resin
Not all resins are the same. For art and craft projects, you want a resin that’s crystal-clear, self-levelling, and gives you enough working time to perfect your pour. Our Clearpox Ultra Clear is designed for exactly that — giving you consistent, reliable results for projects big and small.
Step 2 – Measure Accurately
Always measure by the manufacturer’s recommended ratio — even a small deviation can cause soft spots or incomplete curing. Use separate measuring jugs for resin and hardener to ensure precision.
Step 3 – Mix Slowly and Thoroughly
Vigorous stirring introduces bubbles, so take it slow. Scrape the sides and bottom of your mixing container to ensure every part is blended. This is also when you can mix in pigments or powders for colour effects.
Step 4 – Create in a Controlled Environment
Dust, temperature, and humidity all affect your final finish. Work indoors in a space that’s around 22–25°C and as dust-free as possible. Cover your curing resin to protect it while it sets.
Step 5 – Finish Like a Pro
Once poured, use a heat gun or torch lightly to remove surface bubbles. Leave the piece to cure fully before unmoulding or handling.
Closing Thoughts
Resin art is as much about the process as the result. With the right materials, careful preparation, and a little patience, you can create stunning, professional-quality pieces every time.

