Skip to content
Weekend Resin Wins: 3 Projects You Can Finish by Sunday Night
Short on time but big on results? Try these quick, beginner-friendly resin projects that look pro without a full workshop.
Before You Start: The 5-Minute Prep
- Cover your bench (silicone mat or baking paper works in a pinch).
- Wear gloves and eye protection, and ventilate your space.
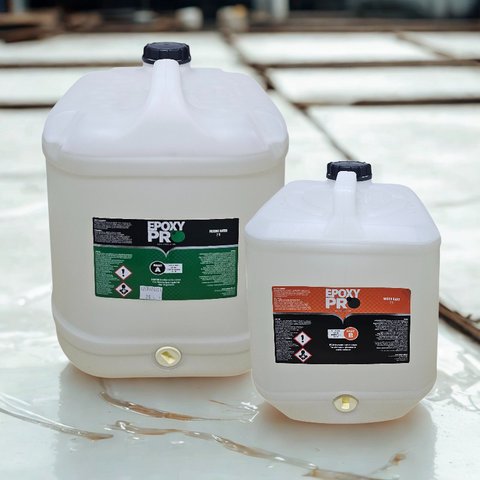
- Measure accurately (follow your kit’s mix ratio carefully).
- Warm bottles in lukewarm water for 5 minutes to reduce bubbles.
- Have a heat gun or butane torch ready for quick bubble passes if necessary.
1) Ocean-Swirl Coasters (1–2 hours hands-on)
Create glossy, gift-worthy coasters with ocean blues and crisp white lacing.
What you’ll need
- Silicone coaster molds (round or hex)
- Clear coating resin (thin/medium viscosity)
- Pigments: navy/teal/blue + white paste or opaque white
- Stir sticks, cups, heat gun
Steps
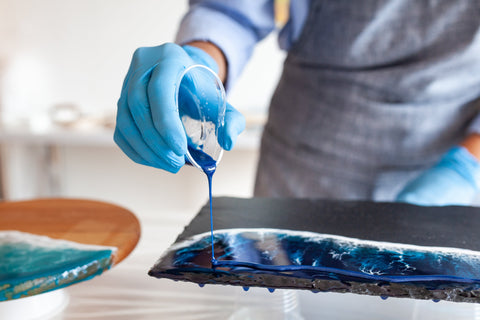
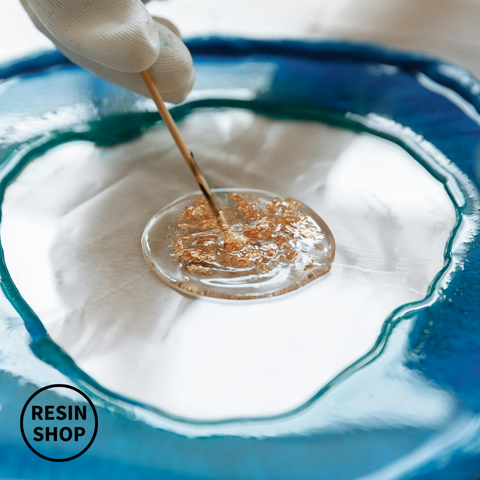
- Mix a small batch of clear resin. Split into 3–4 cups and tint blues separately; keep some clear.
- Pour blues from darkest to lightest in arcs. Add a line of white where “wave” foam should be.
- Gently push the white over the blues with a heat gun for that lacing effect.
- Pop bubbles, cover from dust, and leave to cure per your kit’s guide.
Pro tip: Work thin. Too much heat or deep pools can yellow over time in strong UV. For coasters, a thin pour looks cleaner and cures faster.
2) Knot Fill & Timber Touch-Up (trade-clean finish)
Turn rustic offcuts into premium boards by filling knots, checks, and voids with clear or tinted resin.
What you’ll need
- Clear laminating resin (low viscosity)
- Painter’s tape, scraper, sandpaper (120 → 240 → 400+), mineral oil/wax
- Optional tint: black, smoke, or metallic
Steps
- Tape the underside of voids. Seal raw edges with a thin resin smear to reduce bubbles.
- Mix, tint (optional), and fill just proud of the surface. Pop bubbles lightly with heat.
- After cure, sand flush and finish with a food-safe oil/wax (if the board will be used for serving).
Trade tip: For deeper voids, pour in two thinner passes to control exotherm and keep the surface glassy.
3) Pebble & Resin “Beach” Tray (weekend showpiece)
Trap river pebbles or sand in a shallow tray for a coastal centrepiece.
What you’ll need
- Shallow serving tray with removable base or lined interior
- Clear casting/coating resin
- Clean pebbles/shells (dry), optional pigment for a faint blue tint
Steps
- Dry-fit pebbles in a single layer. Mix a shallow batch of resin and pour to just cover the stones.
- Pop bubbles, then add a whisper of blue to a small portion of resin for “water” at one edge.
- Level, cover from dust, and cure. Add handles once fully cured, if your tray design allows.
Note: For outdoor pieces, consider a UV-resistant topcoat and store away from direct sun when not in use.
Finishing Strong: Fast Wins That Matter
- Edges: Softly sand and round over sharp drips for a professional feel.
- Feet: Add silicone or cork dots to coasters and trays to prevent scuffs.
- Care card: Include a simple “wipe clean, no dishwasher/oven” tag if you gift or sell.
Shop resin kits • Shop pigments • Shop tools • Resin Volume Calculator